
The Biggest Braiding Mistake That Can Lead to Hair Loss
Disclosure: Some of the links in this post are affiliate links. This means if you click on the link and purchase an item, I will receive an affiliate commission at no extra cost to you.
Braids have a reputation for being one of the safest, most protective styles a parent can choose. In most cases that reputation is well earned.
But there is one mistake, made during the braiding process itself, that quietly turns a protective style into a source of real hair loss, and most parents never realize it is happening until the damage is already visible.
This mistake has nothing to do with which braid pattern you choose or how cute the finished look turns out.
It comes down to how the very first section of hair is gathered and pulled before the braid even begins.
Getting this one step wrong is often the real reason behind 15 Reasons Your Child’s Hair Keeps Breaking (and What to Do About It), even when every other part of the routine looks healthy.
The good news is that this mistake is easy to avoid once you know exactly what to watch for. You do not need to give up braided styles or hand styling over to someone else entirely.
A few adjustments to technique, paired with guidance from How to Build a Healthy Hair Routine for Kids, protect the hairline while still giving you a style that lasts.
Braiding is one of those skills that gets better with practice, and every small correction along the way protects your child’s hair for years to come.
The Braiding Mistake That Causes the Most Damage
Most hair loss connected to braiding does not come from the braid pattern itself.
It comes from how tightly the very first knot or loop is pulled against the scalp.
This single moment, repeated across dozens of sections, is where the biggest braiding mistake actually happens.
Understanding this one step changes how you approach every braided style going forward.
Starting Too Tight at the Base
The first pull of any braid sets the tension for the entire section underneath it.
A base that is pulled too tight puts constant pressure on the follicle from the very start.
Over time, this repeated pressure is what leads to the thinning and hair loss parents notice along the edges and part lines.
This is the biggest braiding mistake precisely because it happens in the first few seconds of every single braid, long before the rest of the pattern is even visible.
Why This Mistake Is So Easy to Miss
A tight base often looks neater and holds a shape longer, which makes it tempting to pull firmly on purpose.
Compliments on how sleek and long-lasting a style looks reinforce this habit without anyone realizing the cost.
The scalp does not always signal pain right away, especially in kids who are used to sitting through styling.
By the time signs show up, the biggest braiding mistake has often been repeated for months.
How This Differs From Everyday Styling Tension
Ponytails and puffs put tension on a single point, while braiding spreads pressure across many small sections at once.
This means a slightly tight base in braiding gets repeated dozens of times across one head.
Comparing this to The Everyday Habit That Could Be Damaging Your Child’s Hair shows how similar the underlying problem is, even though the styles look completely different.
The fix, though, is specific to how braids are started.
Signs This Mistake Has Already Caused Damage
Catching this early makes a real difference in how quickly hair recovers.
Some signs show up during the styling session itself, while others appear days or weeks later. Knowing what to look for helps you adjust before real hair loss sets in.
Here are the clearest warning signs to watch for.
During the Braiding Session
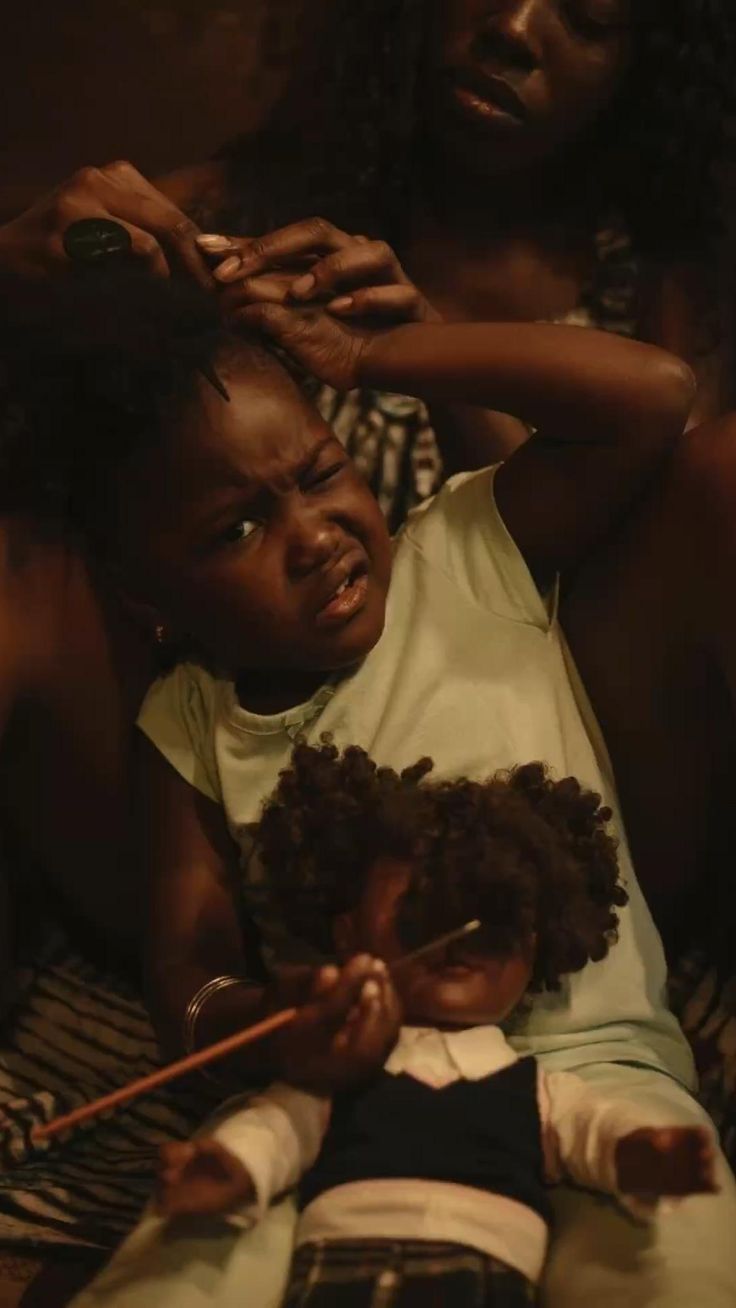
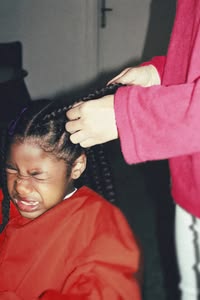
A child wincing, pulling away, or complaining of a sharp pinch at the very start of a section is an immediate warning sign.
Visible white bumps along the part line, sometimes called stress bumps, often show up right after a section is finished.
Checking in and asking how a section feels, rather than only checking how it looks, catches problems early.
Comparing the result to Signs Your Child’s Hair Is Healthy helps you know what a properly tensioned braid should actually look like.
In the Days and Weeks After
Ongoing soreness at the scalp days after styling points to tension that was too high from the start.
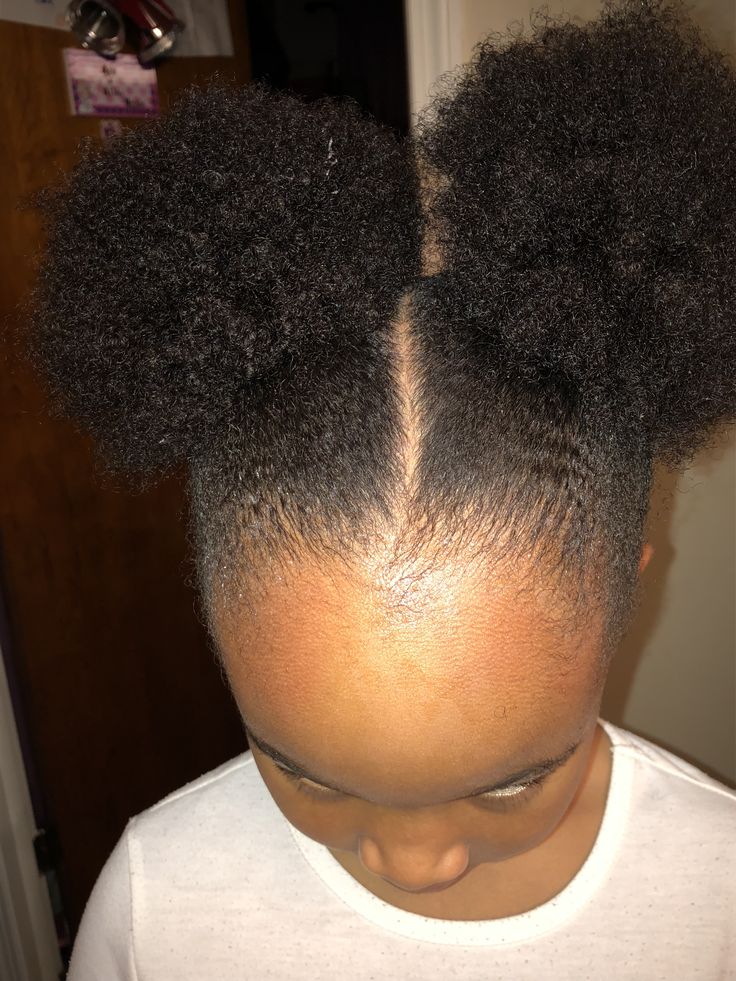
Thinning that shows up specifically along the part lines and edges, rather than evenly across the scalp, is a strong sign this mistake occurred.
Short, broken hairs near the hairline, sometimes called a widow’s peak of breakage, are another common clue.
These patterns are worth tracking over several styling sessions, not just one, since a single tighter section can look minor on its own but add up across months of repeated styling.
How to Braid Without Causing This Damage
Fixing this mistake does not mean giving up braided styles altogether.
A few adjustments to technique protect the scalp while still giving you a style that holds well.
These changes work for any braid pattern, from simple two-strand twists to more detailed cornrows.
Start with the very first section and work from there.
Leave Slack at the Very First Knot
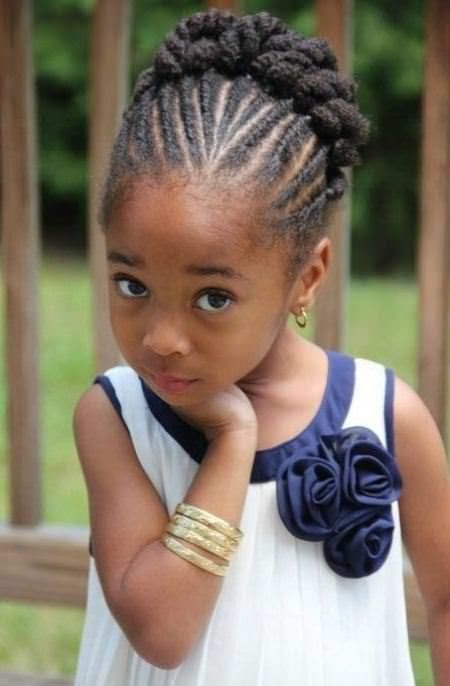
The first loop or knot of any braid should feel snug against the scalp, never sharp or pinching.
Leaving a small amount of slack at this exact point prevents the constant root-level pressure that leads to damage.
Knotless techniques, covered in 21 Cute Knotless Braids for Kids, are built around this exact idea of easing tension in gradually.
This one adjustment addresses the biggest braiding mistake at its actual source.
Test Tension Section by Section
Checking in after each section, rather than waiting until the whole head is finished, catches problems while they are still easy to fix.
Asking a simple question about comfort takes only a few seconds between sections.
Consistency matters more than perfection, since even one or two overly tight sections can cause noticeable damage over time.
Building this check into your routine from The Best Scalp Care Routine for Children makes it a natural part of styling, not an extra step, and it becomes second nature after just a few sessions of practicing it consistently.
Prepare Hair Properly Before Braiding
Dry, under-moisturized hair resists a braid’s natural shape, which often leads to pulling harder to compensate.
Following a routine from How to Moisturize Kids Hair Properly before braiding gives strands the flexibility to hold a braid without extra tension.
Well-moisturized hair also feels more comfortable throughout a long styling session.
Preparation matters just as much as technique once the braiding actually begins.

Choose the Right Size and Weight
Very small, detailed braids create more tension points across the same amount of hair.
Thicker extensions or added hair add weight that pulls on the root all day, every day the style is worn.
Looking through 31 Best Braided Hairstyles for Kids can help you choose a size that suits your child’s hair density and age.
A slightly larger, lighter braid is often gentler than a very fine, heavy one.
Braided Styles That Are Naturally Gentler on the Scalp
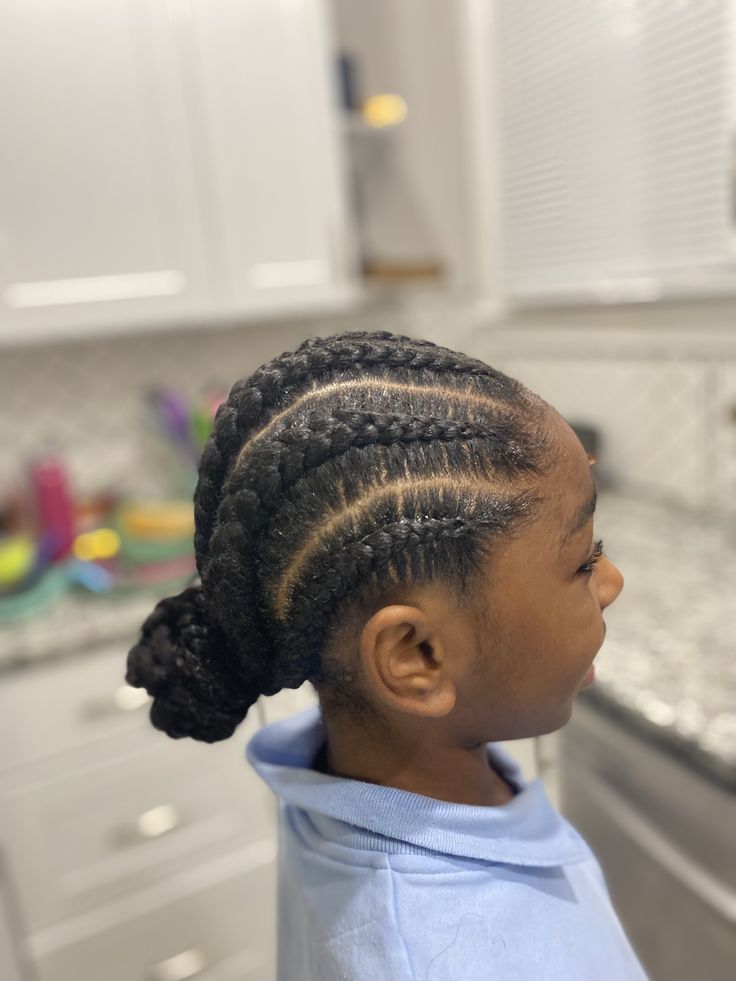
Some braid styles are built in a way that naturally reduces tension at the root.
Choosing from these options makes it easier to avoid the biggest braiding mistake even on a rushed morning.
None of these require giving up a polished, put-together look.
They simply distribute pressure more evenly across the scalp.
Larger, Looser Braid Patterns
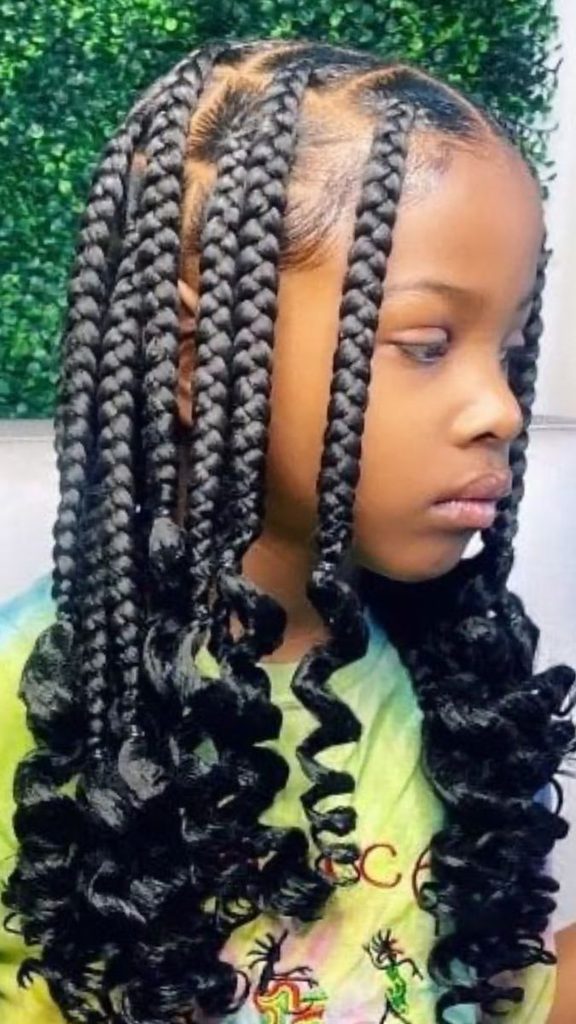
Bigger sections mean fewer total tension points across the whole head.
Styles from 75 Cute Kids Hairstyles You’ll Want to Save that use larger parts tend to be gentler than very fine, detailed patterns.
Larger braids also take less time to complete, which means less total time under any tension at all.
This makes them a good starting point for younger kids or first-time braiding sessions.
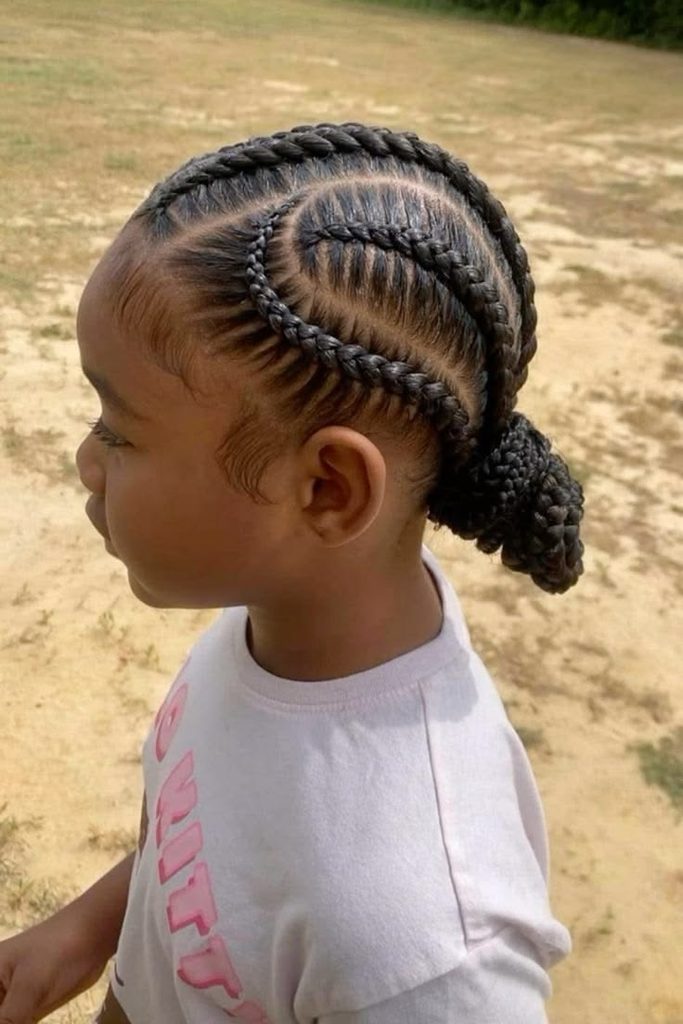
Cornrows With Wider Parts
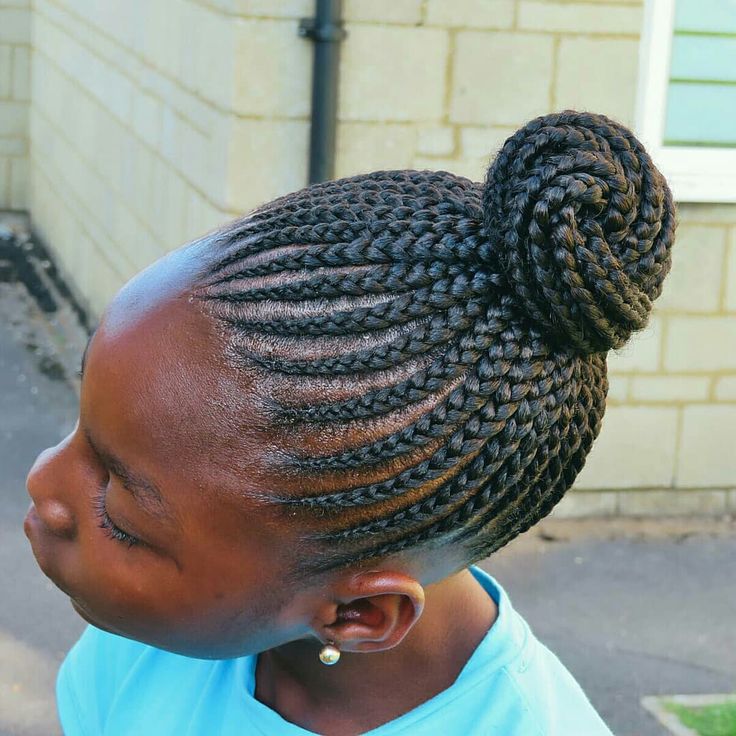
Cornrows have an unfair reputation for being painful, but done correctly they should never hurt.
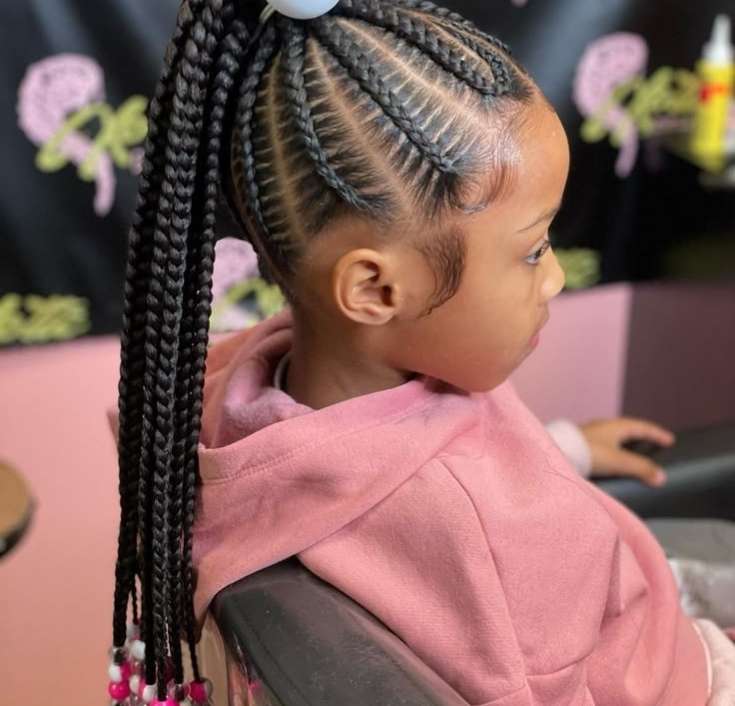
Wider parts, shown throughout 35 Cornrow Styles for Kids, spread tension across a larger area of scalp instead of concentrating it in one thin line.
A cornrow style should feel snug and secure, never sharp. If a cornrow pulls or stings, the part is likely too thin or the base too tight.
Protective Styles With Built-In Breaks
Styles designed to be worn for shorter stretches give the scalp regular recovery time between sessions.
Rotating through options from 17 Protective Hairstyles for Active Kids prevents the same section of hair from bearing repeated tension week after week.
Recovery time between styles matters just as much as technique during any single session.
A scalp that gets regular breaks handles occasional imperfect tension much better.
How This Mistake Affects Different Hair Types
Hair texture plays a real role in how much tension a braid can safely handle.
What feels fine on one child’s hair can be far too much for another.
Knowing your child’s specific texture helps you judge tension more accurately from the very first section.
This knowledge works alongside good technique, not instead of it.
Coilier Textures Often Need the Gentlest Start
Tighter curl patterns tend to have more fragile roots than looser textures.
Spending time with Hair Type 4: Care Guide for Kids helps you understand exactly how much tension your child’s specific pattern can handle.
Coilier hair also benefits most from the extra slack recommended at the very first knot.
Matching technique to texture is one of the clearest ways to avoid the biggest braiding mistake.
Finer Hair Shows Damage Sooner
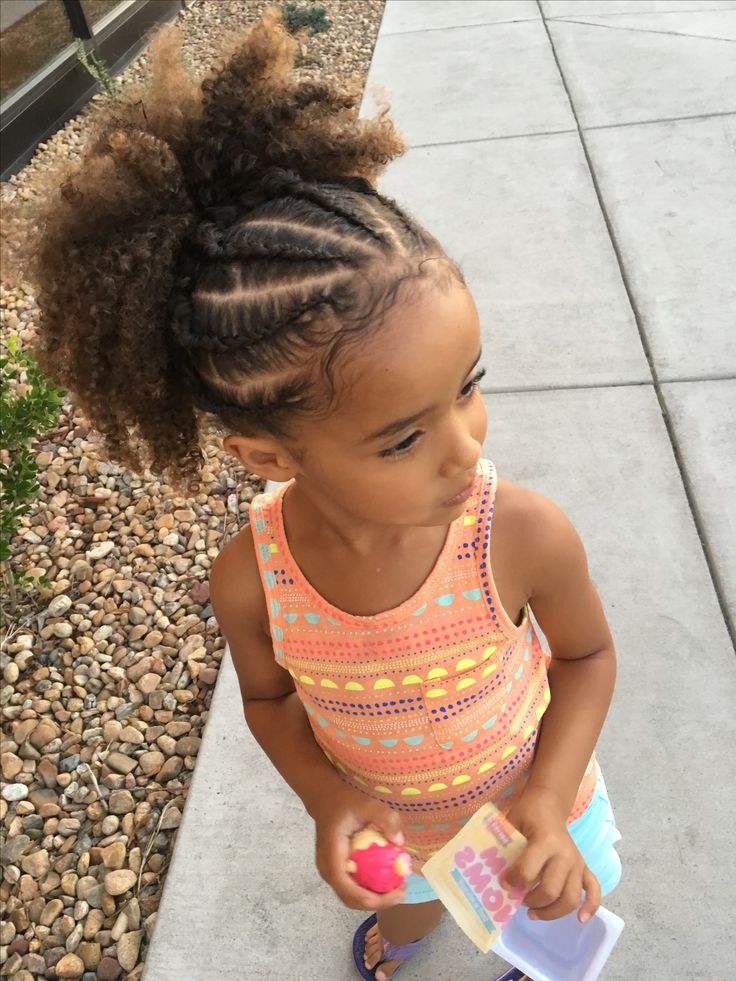
Thinner strands break under less force than thicker ones, so tension mistakes show up faster.
A style that looks fine on thicker hair may already be too tight on finer strands.
Building extra moisture into the routine through How to Moisturize Kids Hair Properly gives fine hair more flexibility to handle normal braiding tension.
Extra caution with finer hair pays off quickly in fewer signs of stress.
Well-Prepped Hair Handles Tension Better Across the Board
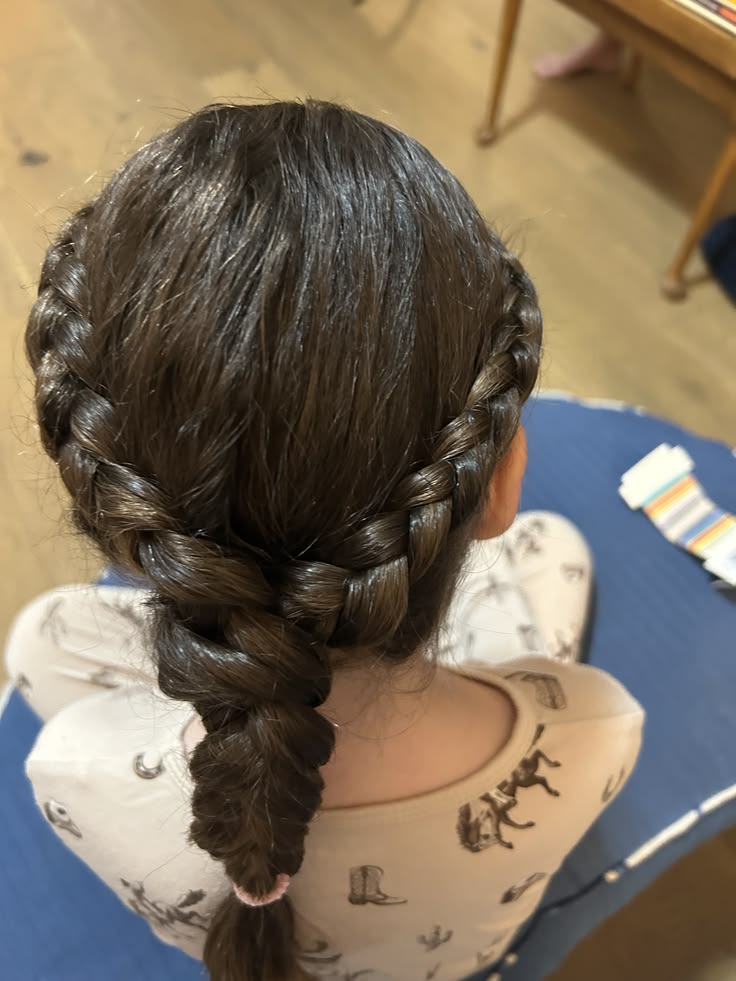
Regardless of texture, hair that starts clean and properly conditioned holds up better to any styling.
Following The Best Wash Day Routine for Kids before a braiding session sets a stronger foundation from the start.
Clean, conditioned hair also glides more easily during parting and sectioning, which reduces incidental tension.
Preparation is one of the simplest ways to make any texture more resilient.
Building a Healthier Braiding Routine Overall
Fixing tension at the base works best as part of a bigger approach to braided styles.
Accessories, overnight care, and rest between styles all play a role in how well hair holds up over time.
None of these additions require much extra effort once they become routine.
Together they protect against the biggest braiding mistake from multiple angles at once.
Watch What Secures the Ends
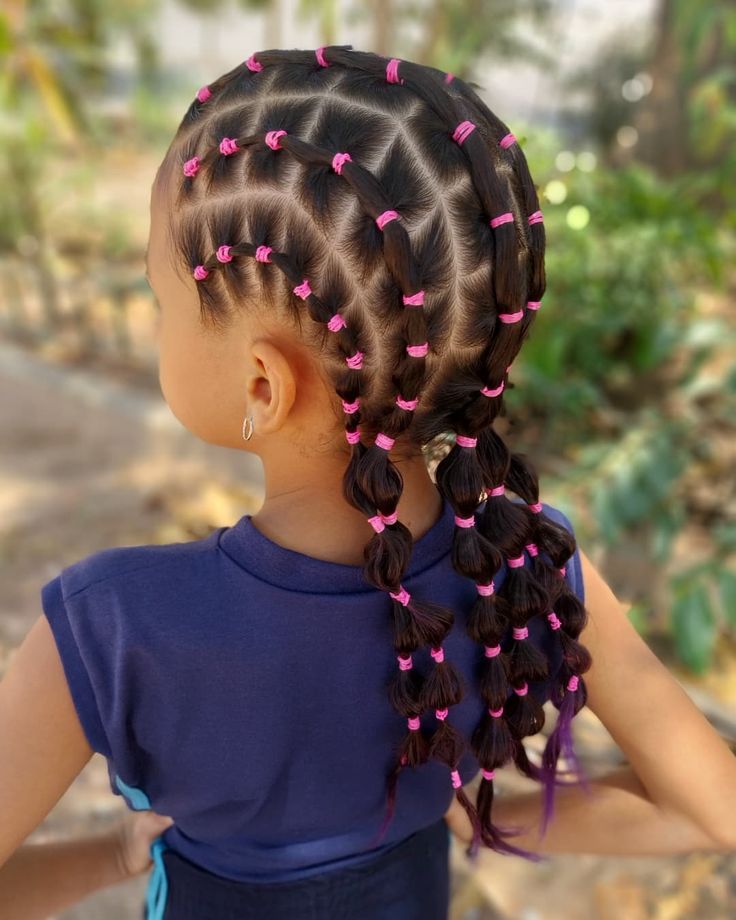
Rubber bands and tight elastic pieces at the ends of braids can add tension long after the braiding itself is finished.
Reading through Could Your Child’s Hair Accessories Be Causing Breakage? highlights gentler options for securing braid ends without extra pulling.
A softer closure at the end matters just as much as a gentle start at the base.
Small details like this add up over the full life of a style.
Protect Braids Overnight
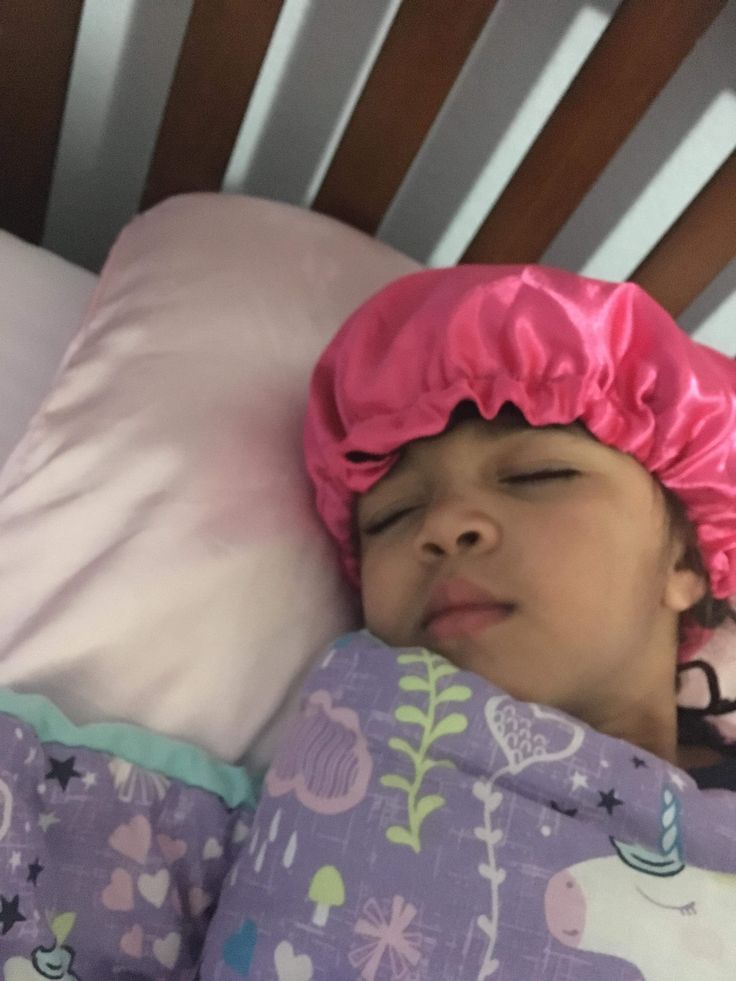
Friction from a regular pillowcase can loosen and fray braids faster than expected. Switching to Satin Bonnets for Kids: Do They Help? answers a common question about extending the life of a braided style.
Protecting braids overnight also reduces the frizz and flyaways that make styles look worn before their time.
A few extra seconds before bed protects hours of styling work.
Give Hair Regular Rest Between Braided Styles
Wearing braids constantly, with no break in between, does not give the scalp time to fully recover.
Rotating in simpler looks like 19 Cute Ponytail Hairstyles for Kids, styled with looser tension, gives the scalp a change of pace between braiding sessions.
This rest period matters just as much as tension during the actual braiding. Recovery time and good technique work together to protect hair long term.
Common Mistakes Parents Make When Trying to Fix This
Even good intentions can go wrong without the right approach.
Some parents switch to a different braid pattern entirely, assuming a new style automatically means less tension, without addressing how the base is actually started.
Others focus only on the finished look and skip checking in with their child during the actual process.
Skipping detangling before braiding is another common misstep, since tangled sections force extra pulling once braiding begins.
Working through The Secret to Tear-Free Detangling first removes resistance before any braid tension is added at all.
Some parents also reach for the wrong tools for sectioning and parting, which adds friction on top of tension that is already there.
A rattail comb with a dull, dragging tip can snag strands during parting, so comparing options in The Best Hair Brushes for Kids is worth the extra attention.
Skipping growth-focused care entirely is another oversight, since strong new growth handles occasional tension mistakes far better than weak, brittle strands.
Building in habits from Healthy Habits That Support Kids Hair Growth gives hair a stronger foundation to work with over time.
Waiting too long to loosen a style once soreness is reported only makes recovery slower. The fix is rarely about avoiding braids altogether.
It is about paying closer attention to how each section starts and how a child’s scalp responds along the way.
Frequently Asked Questions
How tight should a braid actually feel?
A braid should feel snug and secure without any sharp pinching or stinging.
Mild pressure at the base is normal, but real pain is not.
If a section hurts, it is worth loosening and redoing it right away.
Is the biggest braiding mistake always about tension?
Tension at the base is the most common version of this mistake, but weight and moisture matter too.
Heavy extensions or dry hair can add extra strain even with reasonable tension.
Addressing all three factors together gives the best protection.
How long can braids safely stay in before causing damage?
Most braided styles are safe for four to eight weeks with proper care in between.
Leaving braids in much longer than that increases matting and buildup near the root.
Taking styles down and giving hair a rest reduces the risk of ongoing tension.
Can this kind of hair loss be reversed?
In most cases, yes, as long as the tension is corrected before real damage sets in at the root.
Hair usually recovers within a few months once braiding technique changes.
Consistency across multiple styling sessions matters more than any single fix, and patience during the recovery period pays off far more than switching products or trying quick fixes.
Should braiding be avoided completely if this has happened before?
No, braiding itself is not the problem when done with the right technique.
Adjusting how each section starts, checking tension along the way, and preparing hair properly solve most cases.
Braided styles can remain a safe, protective option with these changes in place.

Final Thoughts
The biggest braiding mistake happens in a moment most parents never think twice about, the first pull of the very first section.
Leaving a little slack at the base, checking in section by section, and preparing hair properly before starting all protect the scalp without sacrificing how the finished style looks.
None of these changes take extra time once they become part of the routine.
Pairing better braiding technique with consistent care from How to Keep Kids’ Scalp Healthy gives every braided style, from simple twists to detailed cornrows, a much better chance to stay healthy at the root.
A small mindset shift helps too. Judging a braid by how comfortable it feels, not just by how sleek or long-lasting it looks, changes the outcome for every future styling session.
Over time, this attention becomes second nature, and braided styles go back to being the safe, protective option they are meant to be.