
Box Braids for Kids: Everything Parents Should Know
Disclosure: Some of the links in this post are affiliate links. This means if you click on the link and purchase an item, I will receive an affiliate commission at no extra cost to you.
Braiding your child’s hair can feel like a whole skill to master, but it doesn’t have to be complicated.
Box braids are one of those styles that look impressive but are actually pretty simple once you get the hang of them. They’re neat, they last, and your little one can run, jump, and play without worrying about their hair.
If you’ve been curious about box braids for kids, you’re in good company. Parents love this style, especially knotless box braids, because it keeps hair protected while still looking cute for school, playdates, or just everyday life.
And once the braids are in, styling in the morning gets so much easier since most of the work is already done for you.
One thing that makes box braids even better is how versatile they are. You can dress them up with beads and bows, or keep them simple with just a few clips.
Pair them with the right satin bonnets for kids at night, and the style stays fresh for weeks. It’s these small routines that end up making hair time something to look forward to instead of a chore.
There’s a lot to know before your first try, from prepping the hair to choosing between knotless and traditional styles. Once you see how it all comes together, you’ll wonder why you waited so long to give box braids a shot.
What Are Box Braids, Exactly?
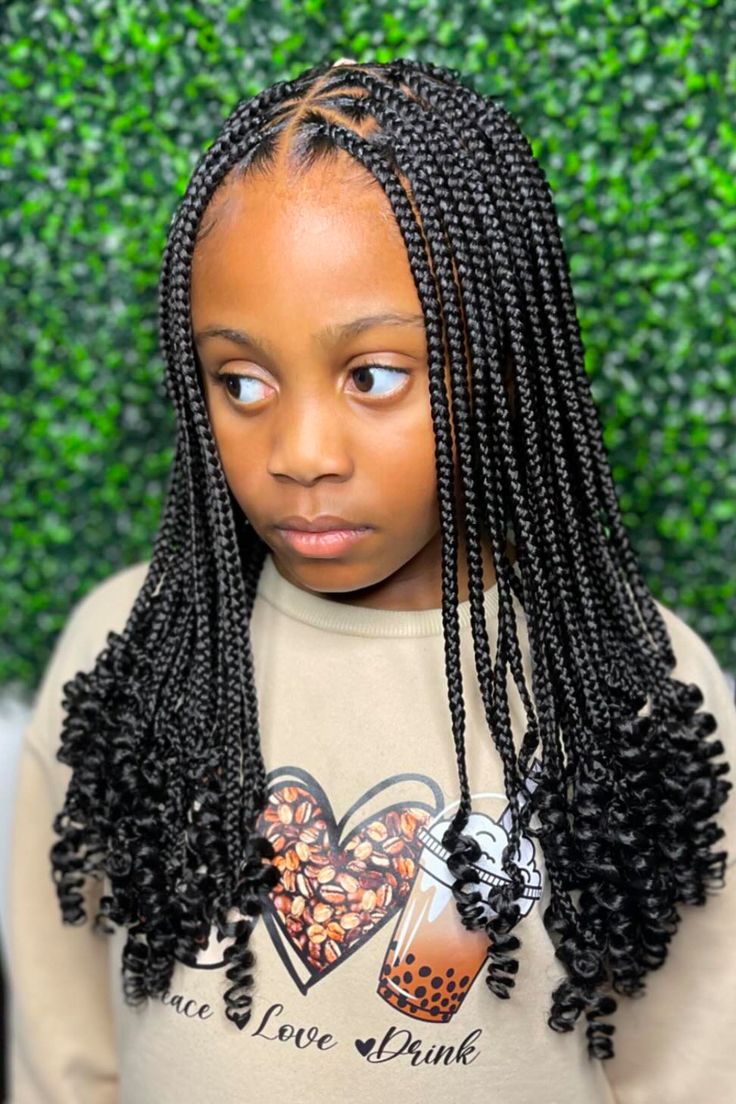
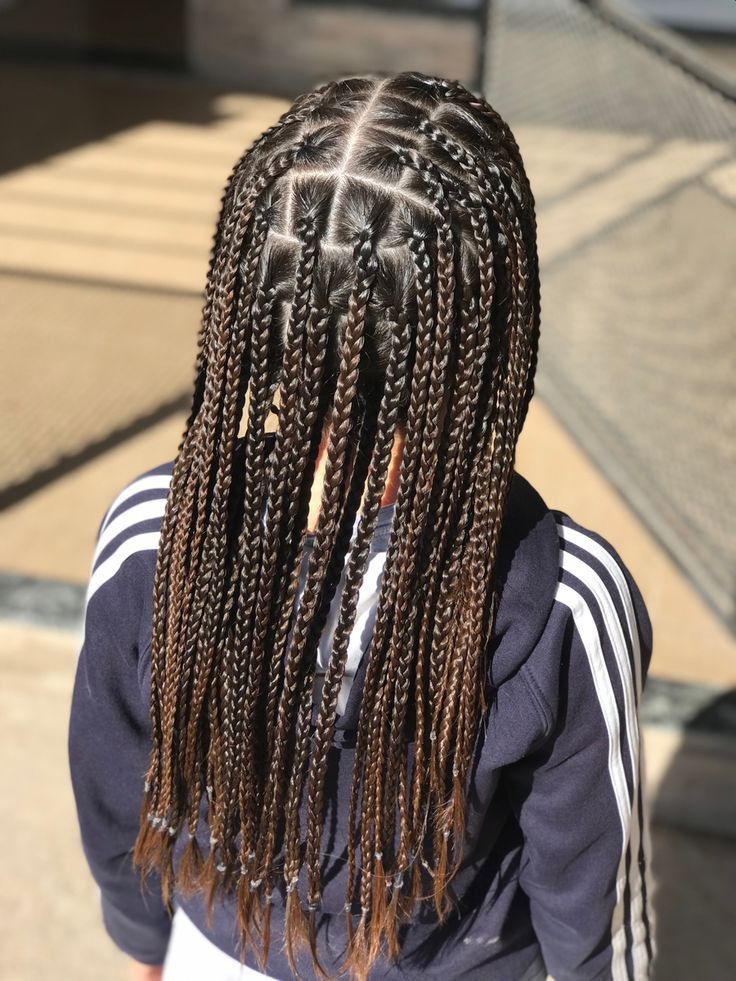
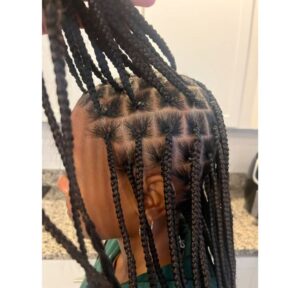
Box braids get their name from the small square sections used to part the hair before braiding.
Each section is braided individually, either with just the natural hair or with added extensions for length and fullness.
The result is a clean, structured look that holds its shape for weeks.
This method works well for many hair types and lengths, making it one of the most flexible protective styles around.
Once you understand the basic technique, it’s easy to see why so many parents choose it again and again.
Knotless vs Traditional Box Braids
Traditional box braids start with a small knot at the root before the braiding begins, which can add tension right from the first section.
Knotless box braids skip that knot entirely, starting with the natural hair and feeding in extensions gradually as the braid goes down.
This makes knotless braids feel lighter and more comfortable, especially for a child’s more delicate scalp.
Both types use the same core braiding technique once past the root, so the maintenance and care steps in this guide apply to either one.
Why Parents Choose Box Braids
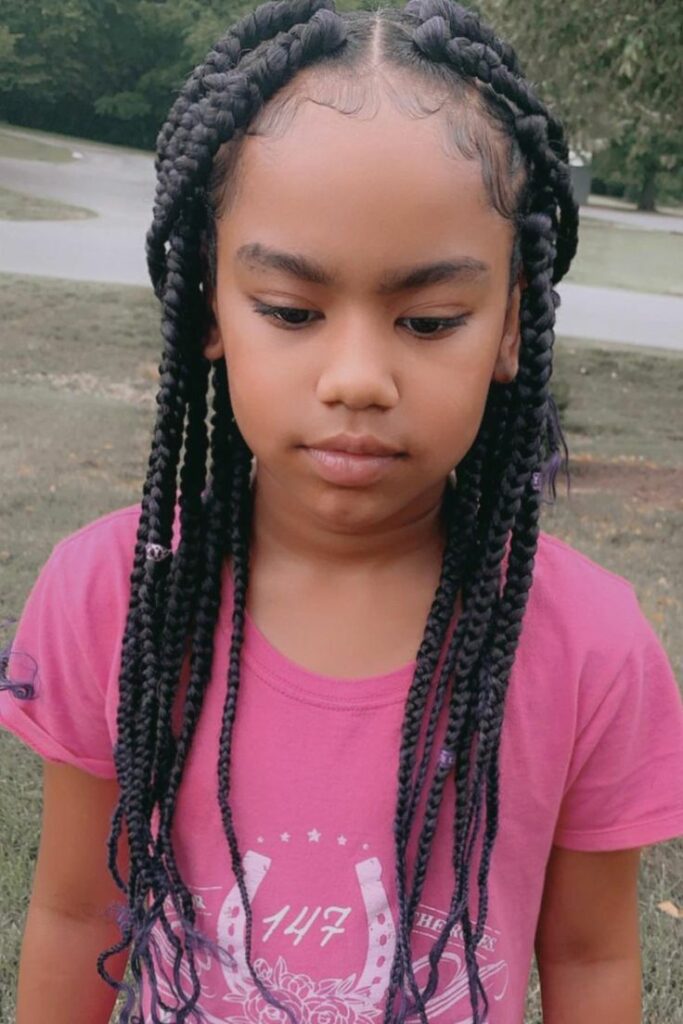
Box braids protect the hair strand from daily manipulation, which means less breakage over time.
They also shield the ends from friction against clothes, pillows, and backpacks.
This makes them a popular pick among 17 protective hairstyles for active kids.
Beyond protection, box braids simplify mornings since there’s no need to detangle and style from scratch every day.
Many families find this frees up time for breakfast, calm mornings, or just a few extra minutes of sleep, and the style holds up through movement and play far better than loose hair.
Box Braids for Different Hair Types
Box braids work across a wide range of hair textures, though the technique may need small adjustments depending on your child’s hair.
Finer or looser textures often hold the braid pattern well with minimal added hair, since the natural strands already have some grip.
Thicker or coilier textures tend to hold shape even longer and may only need light extensions for added length.
Reviewing the different kids hair textures explained can help you figure out what to expect before your child’s first install.
No matter the starting texture, a skilled stylist can adjust tension and sectioning to make the style comfortable and long-lasting.
Supplies You’ll Need for Box Braids
Having the right supplies on hand before you start makes the whole process smoother for both you and your child.
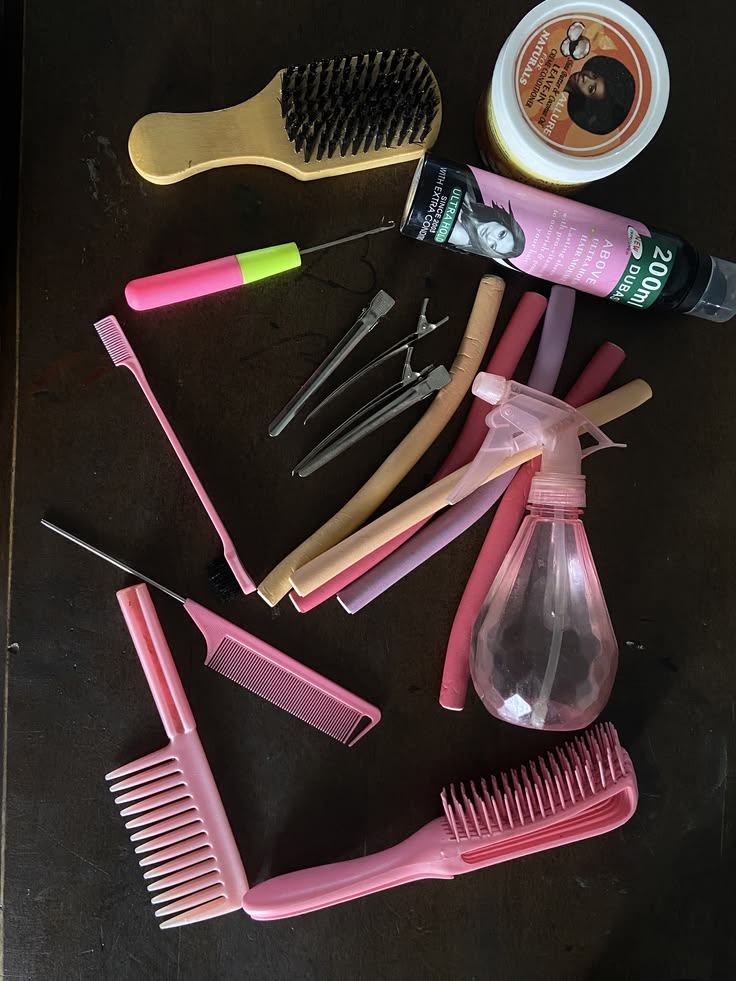
A rat-tail comb helps create clean, even sections, while sectioning clips keep the rest of the hair out of the way while you work.
A good leave-in conditioner and light oil handle moisture, and hair ties or small bands help seal the ends securely.
If extensions are part of the plan, choosing a quality brand ahead of time means fewer interruptions once braiding begins.
Keeping everything within reach also helps the process move faster and keeps your child more comfortable throughout.
Synthetic vs Human Hair Extensions
Choosing between synthetic and human hair extensions is another decision worth thinking through ahead of time.
Synthetic extensions tend to be more affordable and widely available, making them a practical choice for a first try.
Human hair extensions blend more naturally and can be reused more easily, though they usually come at a higher cost.
Both are ok but it depends on your preference and pocket.
At-Home vs Professional Box Braids
Deciding whether to braid at home or book a professional depends on your comfort level, time, and your child’s hair length.
Both routes can lead to a great result, so it comes down to what fits your family best.
Home braiding gives you full control over pacing and lets you stop for breaks whenever your child needs one.
A salon visit usually moves faster and often delivers a more polished, even finish, especially with extensions involved.
Whichever option you choose, the same basic prep and care steps still apply once the braids are in.
Braiding at Home
Braiding at home saves money and lets you work at your child’s pace, taking breaks whenever needed.
It does take practice to get even sections and consistent tension, so the first few tries may take longer than expected.
Watching tutorials and starting with a smaller section helps build confidence before tackling a full head.

Going to a Professional Stylist
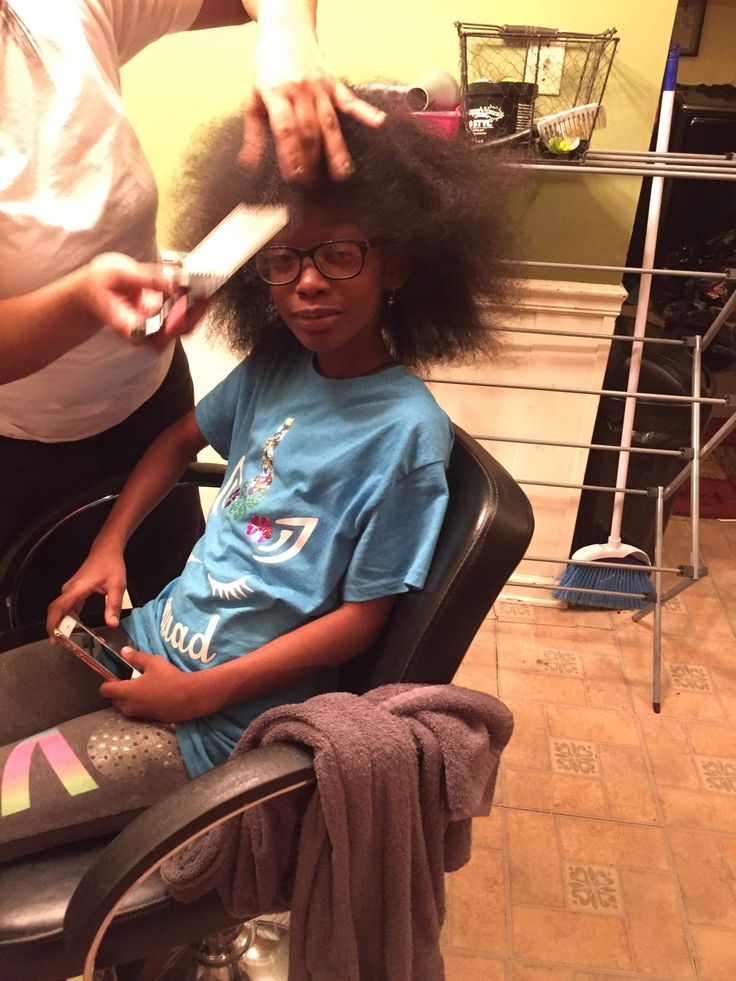
A professional stylist typically works faster and can achieve a more uniform, polished result, especially with extensions.
This option is worth considering for special occasions or if your child has very thick or long hair.
It also gives you a chance to ask questions about maintenance directly.
Preparing Your Child’s Hair Before Braiding
Good braids start with good prep, and skipping this step often leads to discomfort later on.
Hair that isn’t properly washed, detangled, or moisturized tends to break down faster once braided.
Taking the extra time before styling protects both comfort and how long the braids will last. A few simple steps make all the difference in the final result.
Here’s what to do before your child sits down for braiding.
Start With a Clean Scal
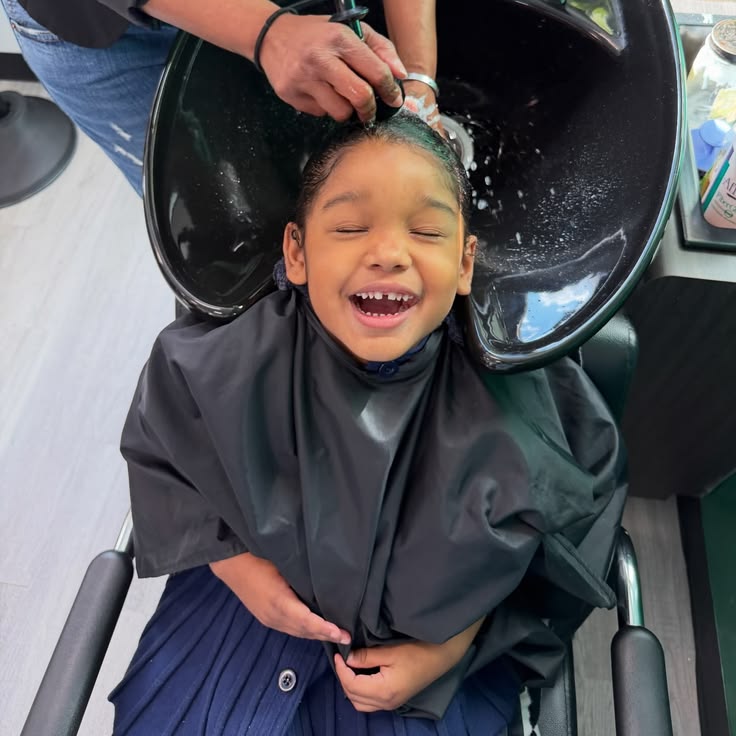
Washing your child’s hair properly before braiding is one of the most important steps in the whole process.
Product buildup, dirt, and natural oils sitting on the scalp can prevent braids from lying flat and holding their shape.
Begin with a thorough wash using the best wash day routine for kids as your guide.
Follow with a deep conditioner to add moisture the hair will need for the weeks ahead.
Detangle Before You Braid
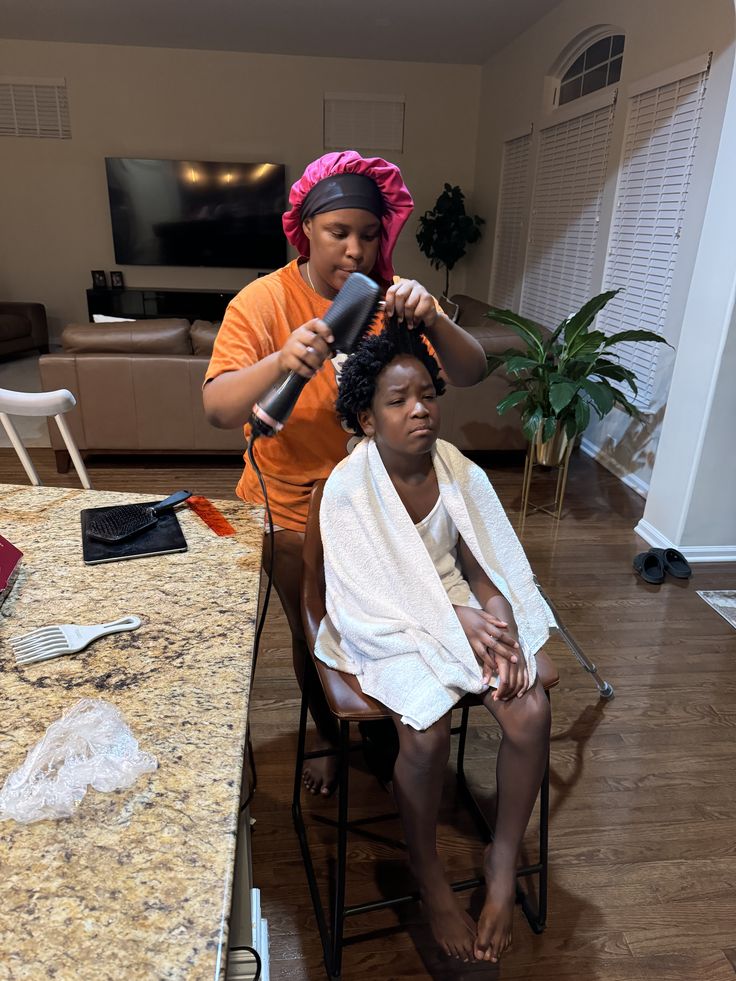
Never ever braid over knots or tangles. Use the secret to tear-free detangling to work through strands gently, section by section.
Starting with smooth hair prevents pain during the braiding process and protects the scalp from unnecessary tension.
Taking this extra time upfront makes the whole braiding session go by faster and more comfortably for your child.
Moisturize and Seal
Apply a leave-in product before braiding to lock in moisture.
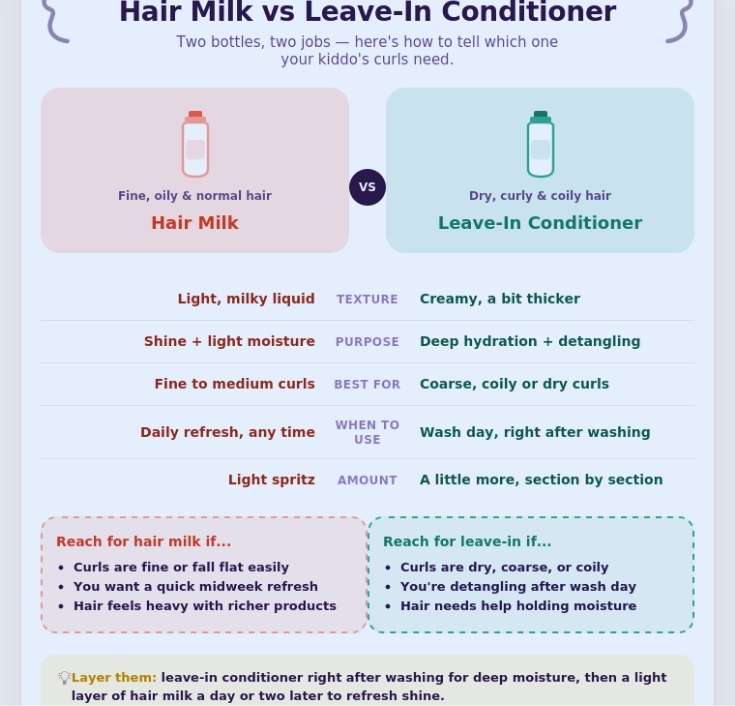
Comparing leave-in conditioner vs hair milk for kids can help you decide which works best for your child’s texture.
Follow with a light oil to seal the moisture in before styling begins.
Choosing the Right Size and Length
Box braid size affects both comfort and durability, so it’s worth thinking through before your appointment.
Smaller braids last longer but take more time to install, while larger braids go faster but may not hold up as well for very active kids.
Length also matters , since shoulder-length braids tend to feel lighter and more comfortable for younger children.
Longer braids look very beautiful but add more extra weight, which can pull on the scalp if the hair isn’t strong enough yet.
When unsure, ask a stylist to test a few sample braids first so you can check comfort before committing to a full head.

How Box Braids Are Installed
Most box braids follow a similar process, whether done at home or by a professional stylist.
Knowing what to expect helps both you and your child feel more relaxed during the appointment.
The process usually takes a few hours, depending on hair length and thickness.
Breaking it into clear steps makes it easier to follow along or even try at home. Here’s how each part of the process typically works.
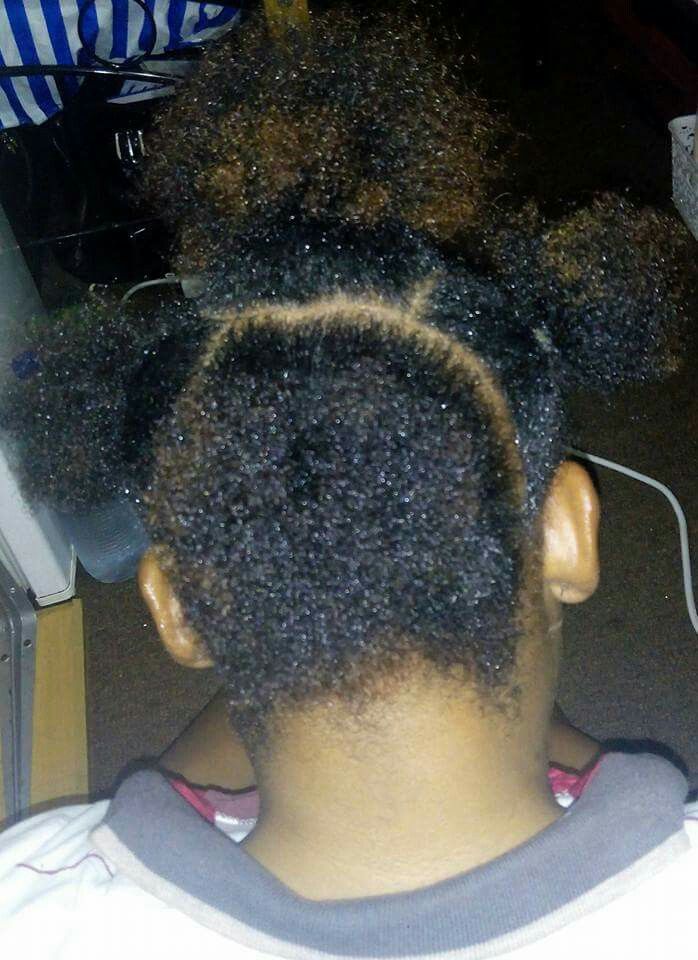
Step 1: Section the Hair
The stylist divides the hair into small, even squares using a rat-tail comb.
Clean sections make for neater, more uniform braids across the whole head.
At home, the same principle applies, though it may take more patience to get each square even.
Working in smaller sections near the hairline helps keep everything consistent either way.
Step 2: Add Extensions if Desired
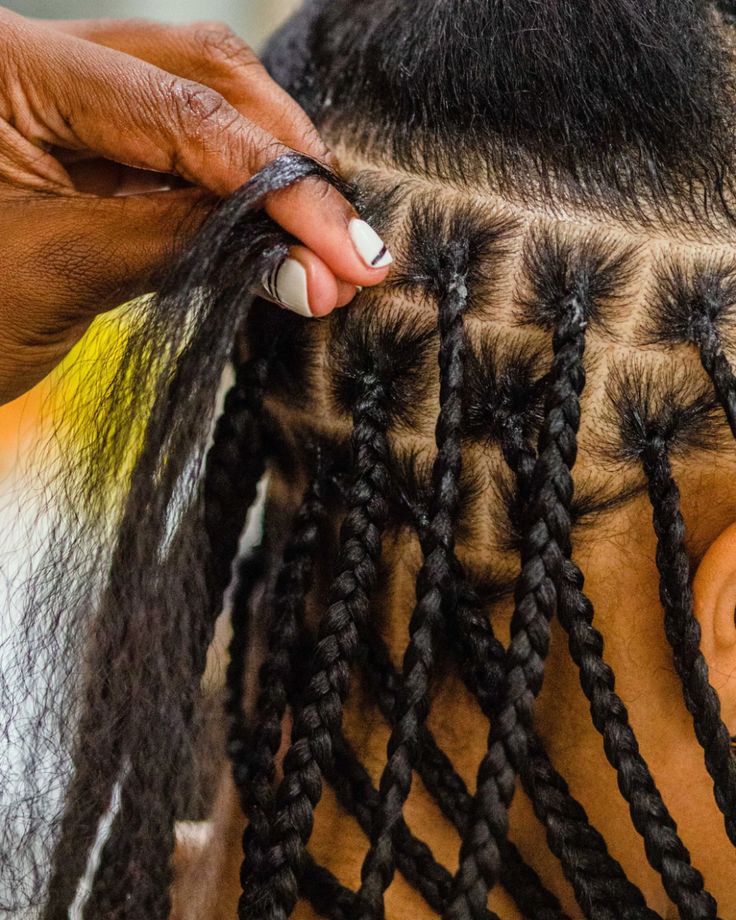
Synthetic or human hair extensions can be added at the root for extra length and fullness.
This step is optional and depends on your child’s hair length and personal preference.
Extensions also make it easier to achieve extra length or fullness without waiting for natural hair to grow.
Step 3: Braid Each Section
Each section gets braided from root to tip using a simple three-strand technique.
Consistent tension throughout keeps the braids looking even and prevents unnecessary pulling.
You can decide to curl the ends or add beads depending on your preference.
Step 4: Seal the Ends
Ends are typically twisted to seal them and prevent unraveling.
This keeps the style neat for its entire duration and stops the braids from coming loose over time.
A well-sealed end also helps protect the extension from fraying or thinning out over the weeks the style stays in.
Step 4: Dip extension in hot water
Hot water is mainly used to relax the entire extension, giving it a smoother, more natural texture.
Dipping the extension in hot water softens the synthetic fibers along its full length and helps it blend better with natural hair.
If you want curled ends instead, tie a strand of extension at the tip, then curl it using the same hot water method.
Be careful with the hot water to avoid scalding you child’s skin.
Caring for Box Braids Day to Day
Once the braids are installed, daily care becomes much simpler than a typical hair routine.
A few small habits make a big difference in how long the style lasts and how healthy the hair stays underneath.
Nighttime protection, light refreshing, and occasional washing are the three main things to stay on top of.
Getting into a rhythm with these steps takes the guesswork out of maintaining the style.
Here’s what each part of the routine should look like.
Nighttime Routine
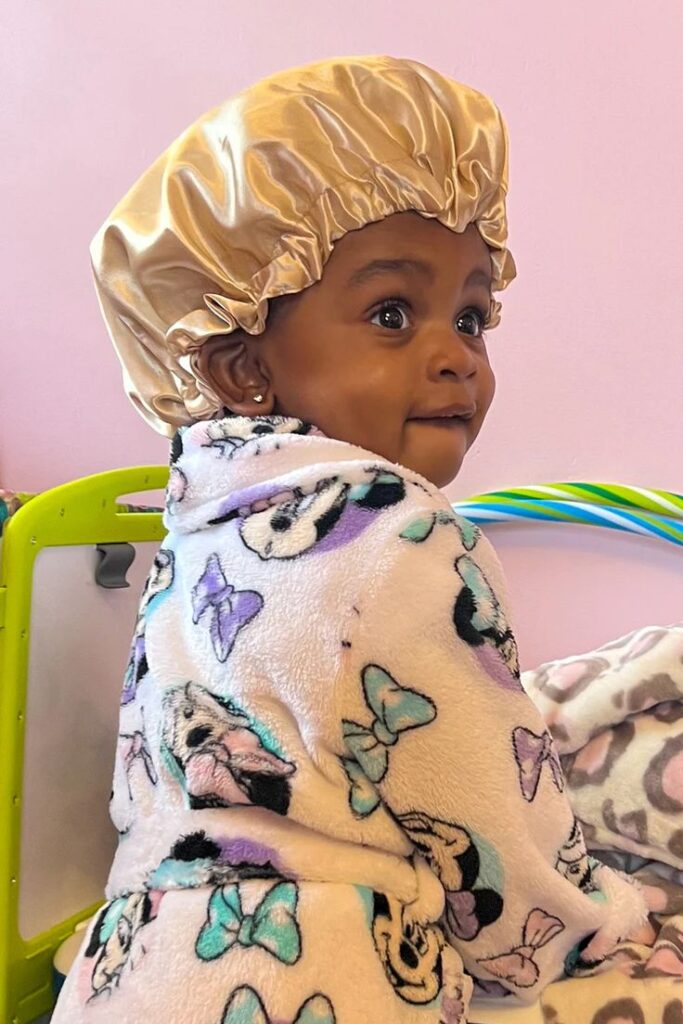
Protecting the style at night makes a huge difference in how long it lasts.
A satin scarf or bonnet reduces friction and keeps braids from frizzing.
This one small habit can extend the life of the style by weeks.
Refreshing Between Washes
Use a lightweight spray to refresh braids without fully washing them.
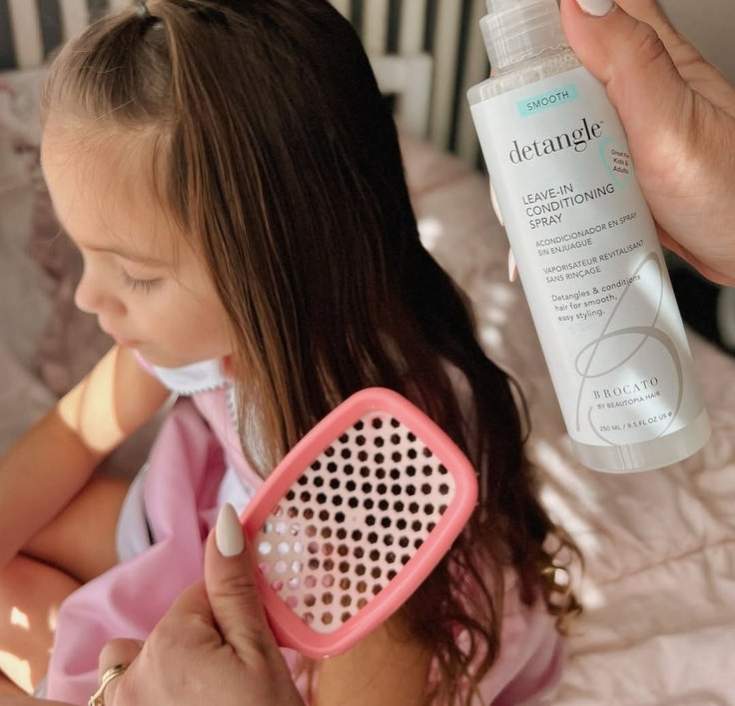
Try the best detangling sprays for kids for a light mist that adds shine and softness.
Focus the product on the scalp and roots, where dryness tends to show up first.
Washing With Braids
Diluted shampoo applied directly to the scalp keeps buildup away without unraveling the braids.
Rinse thoroughly and allow the braids to air dry completely before covering them again.
It’s best to focus the shampoo only on the scalp rather than working it through the full length of the braids.
How Long Should Box Braids Stay In?
Most box braids for kids last between four and six weeks, depending on hair growth and care.
Watch for new growth at the roots as a sign it may be time for a fresh install.
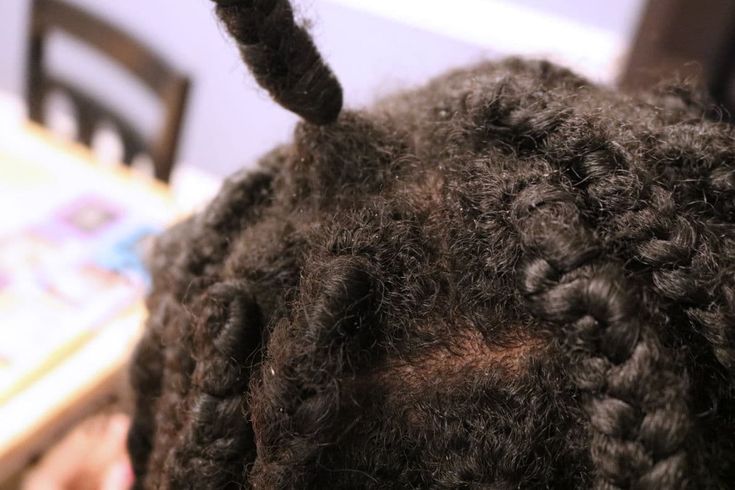
Leaving braids in too long can cause matting and make removal much harder on the hair.
Checking in on the style regularly helps you catch the right time to take them out.
Gentle, patient removal protects the hair underneath from unnecessary breakage.
Signs It’s Time to Take the Braids Out
A few clear signs let you know the style has run its course.
Noticeable new growth at the roots, tangling near the base, or a fuzzy, worn look are all common indicators.
Excess shedding when you touch the braids can also mean the hair needs a break.
Common Mistakes to Avoid
Braiding too tightly is one of the most frequent issues parents run into, and excess tension can lead to headaches.
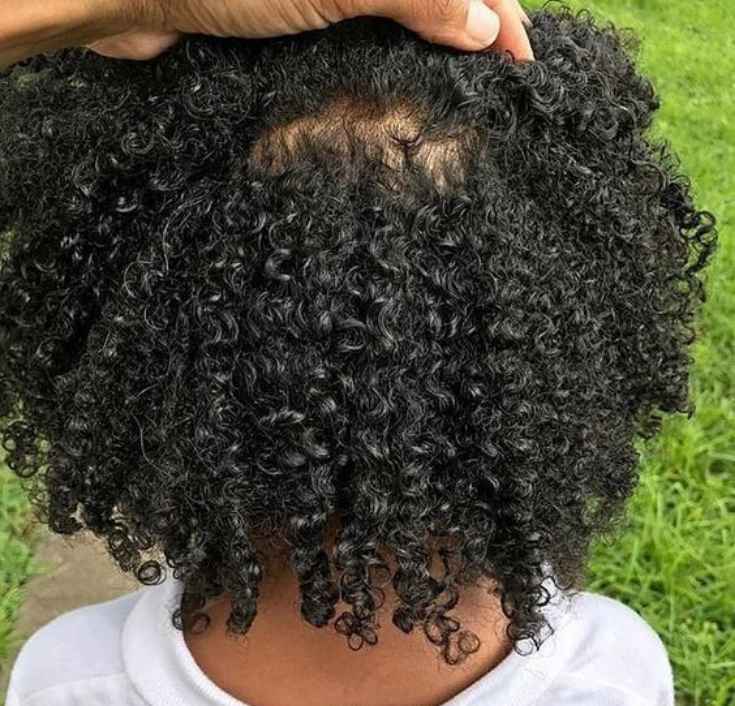
Over time, this can even contribute to the biggest braiding mistake that can lead to hair loss, so it’s worth always leaving a little give at the root.
Another common misstep is skipping moisture between washes, which leaves braids dry, brittle, and prone to frizz.
Heavy accessories can also cause unexpected strain, so it’s worth checking whether your child’s hair accessories could be causing breakage before loading up on beads and clips.
A light daily mist and gentle handling go a long way toward avoiding most of these issues.
Fun Styling Ideas With Box Braids
Box braids offer endless styling options once installed, making them fun to dress up for different occasions.
A few small changes can take the same set of braids from an everyday look to something special.
Half-up styles, ponytails, or a simple braided bun can shift the whole vibe in just a few minutes.
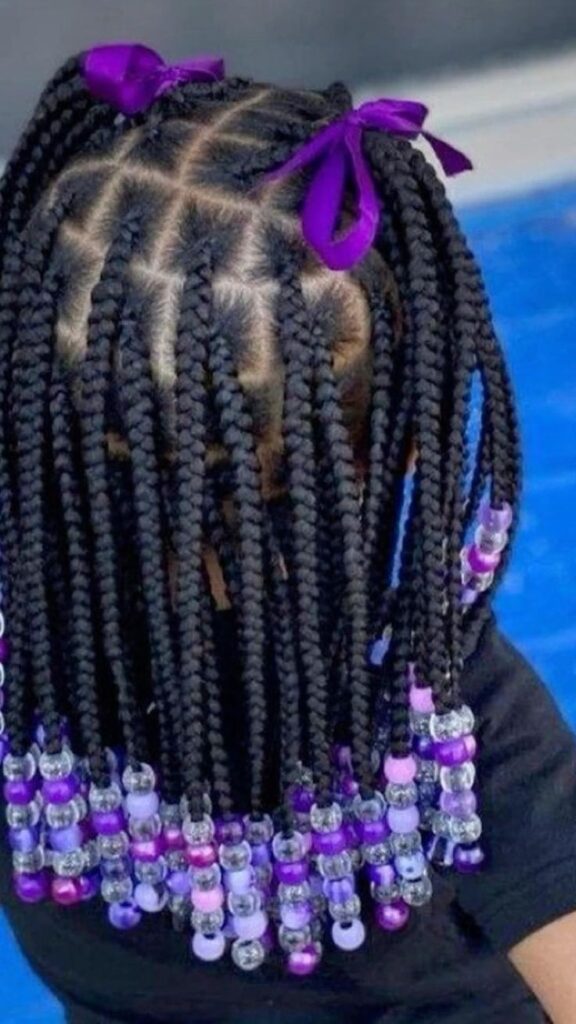
Adding beads, cuffs, or colorful hair ties is an easy way to make the style feel personal.
Special Occasion Styles
For parties or photos, try gathering the braids into one of many 45 braided ponytail ideas for kids, or add cute accessories like butterfly hairclips for extra sparkle.
Pairing the style with hair bows for kids that stay in place adds a polished finishing touch.
These small details can make the same braids feel dressed up and special for the occasion.
Everyday School Styles
For regular school days, a simple half-up style or low ponytail keeps braids neat and out of the way.
These quick looks take only a minute or two each morning while still looking put together.
This makes school mornings far less stressful for both of you.

Frequently Asked Questions
What age can a child get box braids?
Most stylists recommend waiting until a child can sit still comfortably, often around age four or five.
Every child is different, so patience matters more than a strict age cutoff.
Building up to longer sessions gradually also helps younger kids adjust to the process.
Do box braids damage a child’s hair?
Done correctly, box braids protect hair rather than damage it.
Problems usually come from braids that are too tight or left in too long without proper care.
Regular checkups on tension and scalp comfort help catch issues early.
Can box braids get wet?
Yes, though it’s best to keep swimming and heavy water exposure to a minimum.
Always dry braids fully afterward to prevent mildew or an unpleasant odor.
A quick rinse cap during pool days can also help limit exposure.
How do I make box braids last longer?
Consistent nighttime protection, regular moisture, and gentle handling all extend the life of the style significantly.
Following how to build a healthy hair routine for kids also supports stronger results overall.
Sticking to a simple weekly refresh routine also helps the style stay neat for longer.

Final Thoughts
Box braids for kids offer a simple way to protect hair while keeping things easy for busy families.
With the right prep, care, and patience, this style can become a favorite in your routine for years to come.
It’s a style that grows with your child, working just as well for school days as it does for special occasions.
Best of all, the time you save on daily styling means more time for the moments that actually matter.



2 Comments